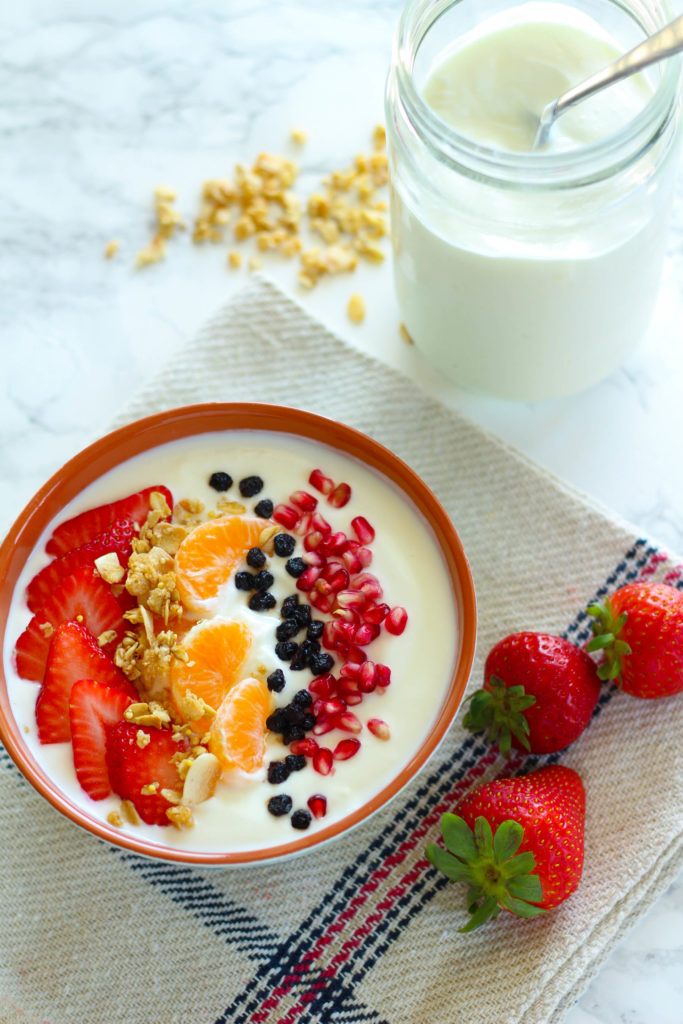
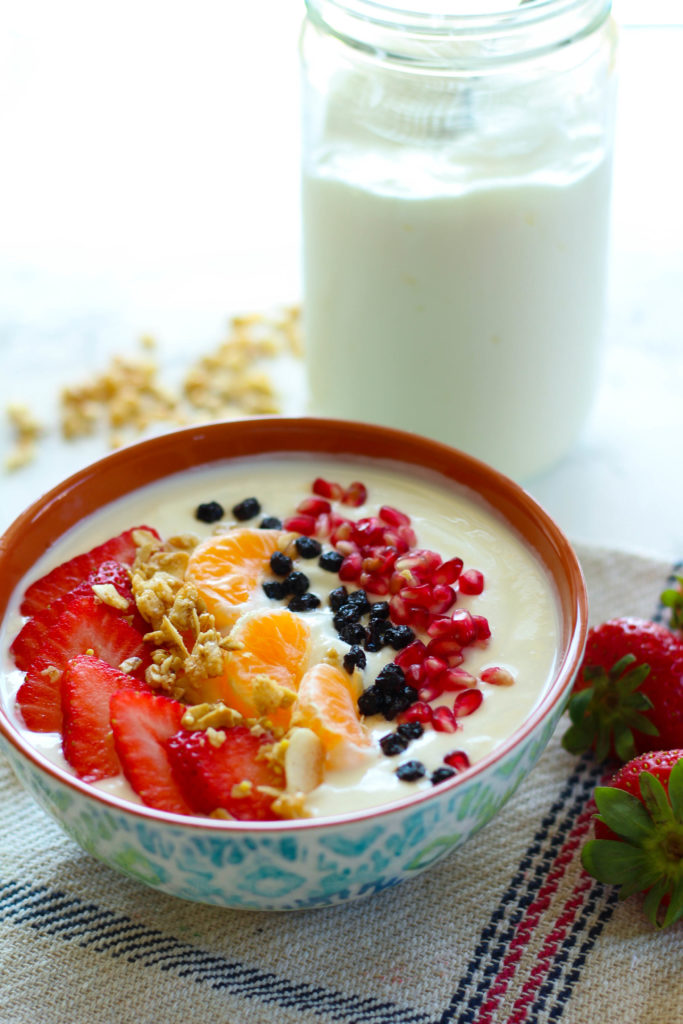
The Creamiest Homemade Whole Milk Yogurt
Got leftover milk close to it’s expiration date? Don’t pour it down the drain! Make the creamiest yogurt you’ve ever tasted right from your own kitchen. It’s easier than you may think!
Hi everyone! I’m back from a week long break from blogging. I’ve been on four trips this month and I was a little burnt out and just needed a week to relax and get back into the swing of things!
And, it’s time for another Recipe Redux! These always sneak up on me. It’ll be the first of the month and I’ll think to myself, “Oh, I have three weeks to look what the topic is”. And then boom, it’s the 21st and I’m frantically trying to put something together that matches the theme.
Okay, that doesn’t happen every month, but this summer it definitely has. I’m hoping after the wedding I’ll be able to more consistently blog and participate in Recipe Redux. Anyway, this month’s theme is:
A Vacation-Inspired Recipe –
Start unpacking your favorite vacation memories. Think about a trip you took state-side or internationally and create a healthy recipe from an unforgettable meal you enjoyed. Or, create a recipe from a native ingredient you saw or tasted on your travels.
Which was perfect, because over the weekend I tried my hand at making homemade yogurt. Most of my readers probably know by now, but I work for the local dairy council here in Texas. In July, I went to the National Dairy Council’s orientation in Chicago and we got to visit a dairy farm. The experience was so wonderful that I’ve found myself increasingly finding use for dairy in more of my meals.
I have to give my Dad credit for this recipe. One of the best things about my Dad is his love for getting creative in the kitchen. He is always trying out some new cooking technique or a new ingredient, and that’s definitely where I got some of my passion for food!
Lately he’s been really into making his own yogurt. He has an Indian friend that he rides the van-pool with for work who, one day, told him about how he makes his own yogurt since it’s used in so many Indian dishes. My Dad was so inspired, he came home and started experimenting!
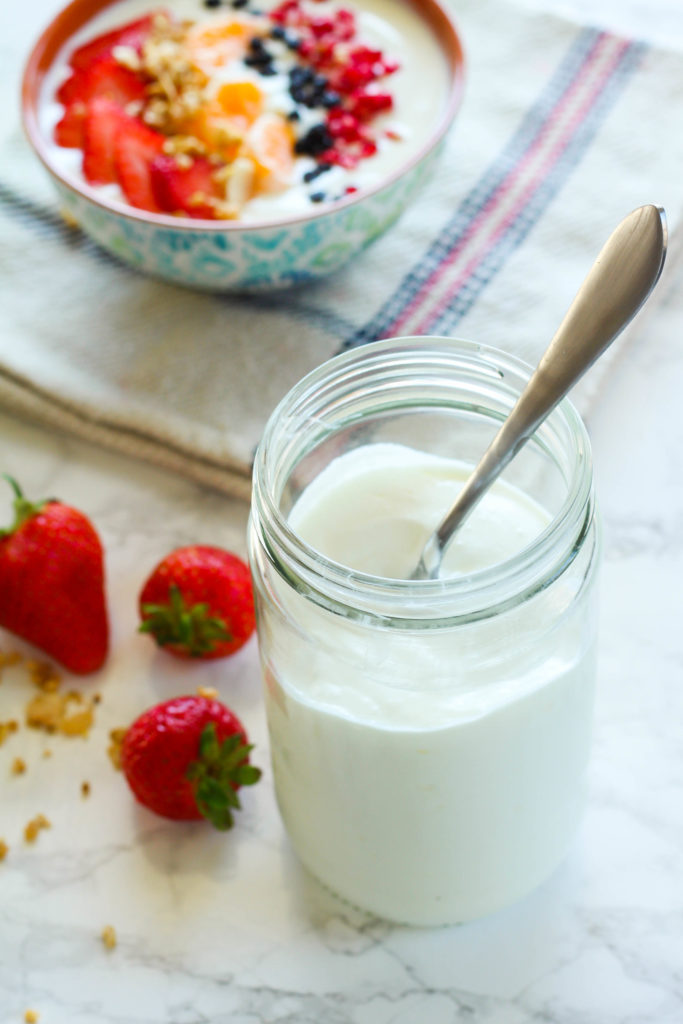
I’m not sure which version this recipe is, but according to my mom, he’s perfected the recipe. And let me tell you– homemade yogurt tastes PHENOMENAL. I love store-bought Greek yogurt, and this is even better! It’s so creamy and mild-flavored. And, I love how you can control the thickness by how much powdered milk you add.
The instructions may seem daunting, but once you go through the steps one time, you’ll realize just how easy it is. It’s a matter of whisking, microwaving, straining and setting in your oven to incubate overnight, and whisking again. Simple.
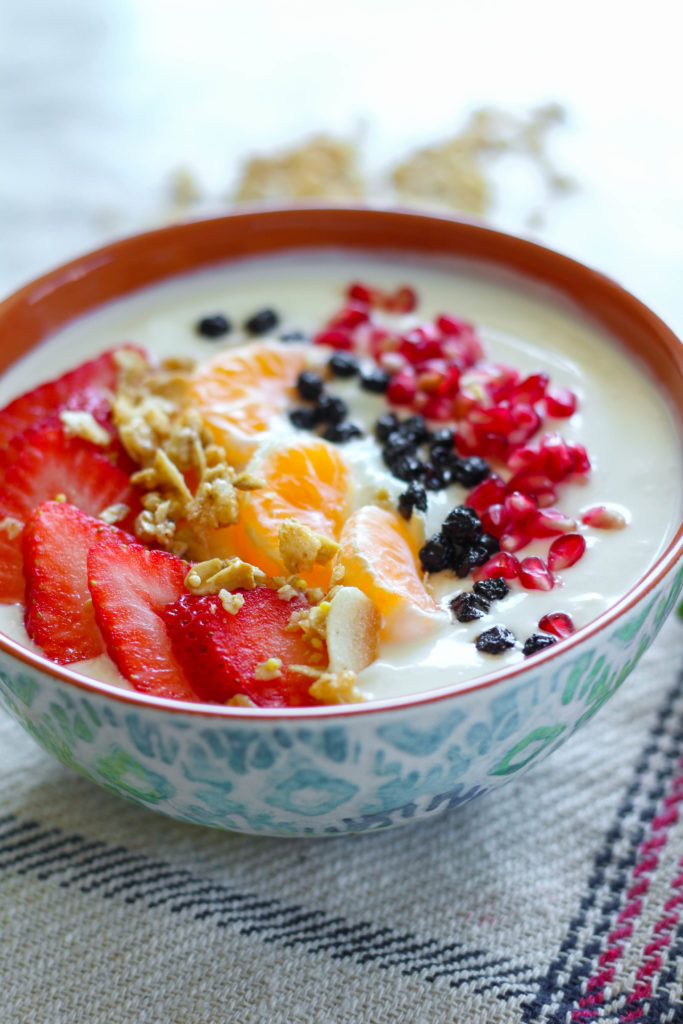
Have you ever made your own yogurt? Does your method vary from mine? What are your favorite yogurt toppings?
Here are the instructions on how to make homemade yogurt:
The Creamiest Homemade Yogurt
Ingredients
Equipment
- 2 microwave safe glass bowls 4 quart size
- food thermometer
- clean kitchen towels
- small metal cooling rack
- wire whisk
- fine mesh strainer
- 2, quart size plastic or glass containers with air tight lids
Ingredients
- 1/2 gallon of whole milk*
- 4 Tbsp starter yogurt**
- 1/3 cup dry powdered milk***
Instructions
-
Turn on your oven light to warm up the oven. Milk cultures around 115 degrees F.
-
Set yogurt starter out on counter to warm up.
-
Pour 1 cup of milk into a bowl and add the powdered milk. Whisk until dissolved. Add rest of milk and continue to whisking until well blended.
-
Place bowl uncovered into microwave and cook on high for 14 min, or until the milk reaches 180-190 degrees F. My microwave takes about 14 min. Check after ten minutes and keep a close eye on it. This step kills any bad bacteria and tempers the milk which helps make the yogurt thicker.
-
Now cool the milk to 110-115 F, I place the bowl in the sink and fill with cool water, throw a couple ice cubes in there as well to make the process go faster. Skim off any film/skin that forms on top.
-
When cool add starter culture and gently whisk into milk.
-
Strain into second bowl. This removes lumps.
-
Next place bowl in oven and cover with metal grate (prevents towel from dropping into yogurt) and then dish towel (helps insulate). Close door and leave light on as heat source.
-
Let the milk culture for 12 hours.
-
Remove from oven and whisk until smooth. Refrigerate for 4-6 hours for the culture to hibernate and the yogurt to set. I separate the batch into two containers before refrigeration.
-
Keep refrigerated, will last a week or two. Save some of the yogurt as starter for your next batch!
Recipe Notes
*Braum's or Horizon Organic seem to make the best tasting yogurt, but I've used store brands and they turn out okay.
** Starter yogurt must contain live active culture, and be plain yogurt, non-flavor and without thickening additives (non-dairy like gelatin or pectin) Siggy's, Brown Cow, Fage are all good. Do not use Braum's yogurt too many additives. The only ingredients should be dairy and active cultures.
*** like Carnation. This is to thicken the yogurt. Use as little as you want or up to 2/3 cup depending on how thick you like the yogurt.
Adapted from My Dad!


i have never made homemade yogurt myself but my mom does it all the time. it really is phenomenal. your photos are sooo beautiful Emily. I hope you have some downtime soon :) .
We made yogurt one time in a lab I had in college, it was so fun! We made ours strawberry and I really enjoyed it. :) It’s not hard at all.
Creative and beautiful! That sounds like my kind of trip :)
I’ve never tried making my own yogurt before. Your pictures make it look so delicious, I just might have to try!