How to Make a Silk Flower Bridal Bouquet
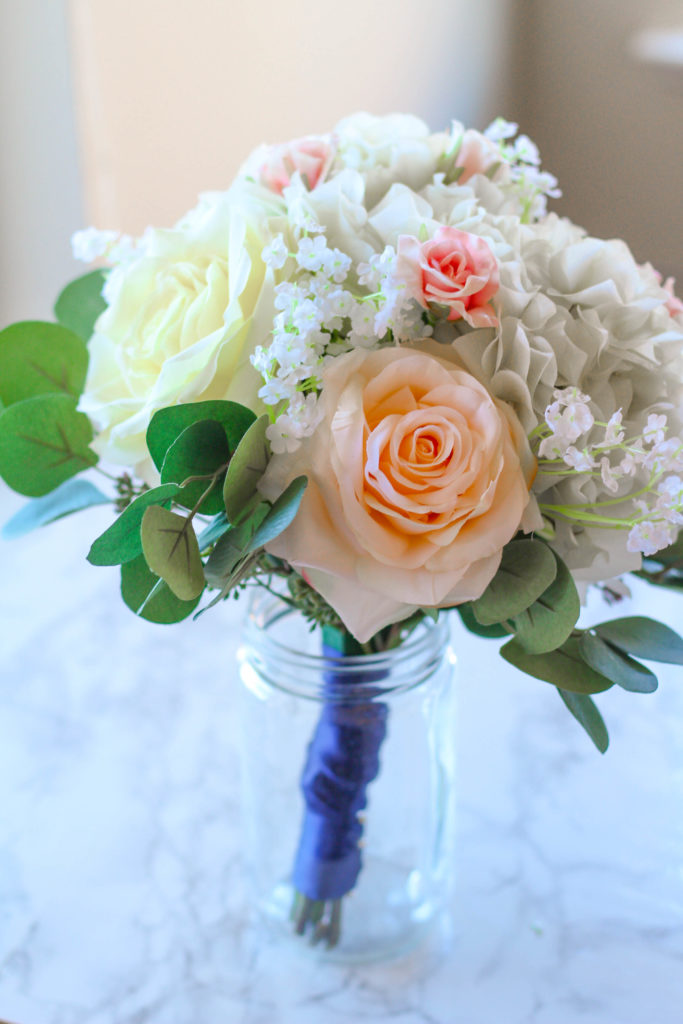
Save money and make your own bridal bouquet for your portraits. A beautiful silk flower bouquet will stay perfect forever and be a great memory of your bridal portraits!
This post is sponsored by Afloral. Thanks for supporting the brands that help make Zen & Spice possible!
Today I’m excited to share with you another post in my wedding series! Last week, I shared my wedding invitations with you all. Yesterday marked our one month of being married! I can’t believe that a month has already gone by. Time needs to slow down.
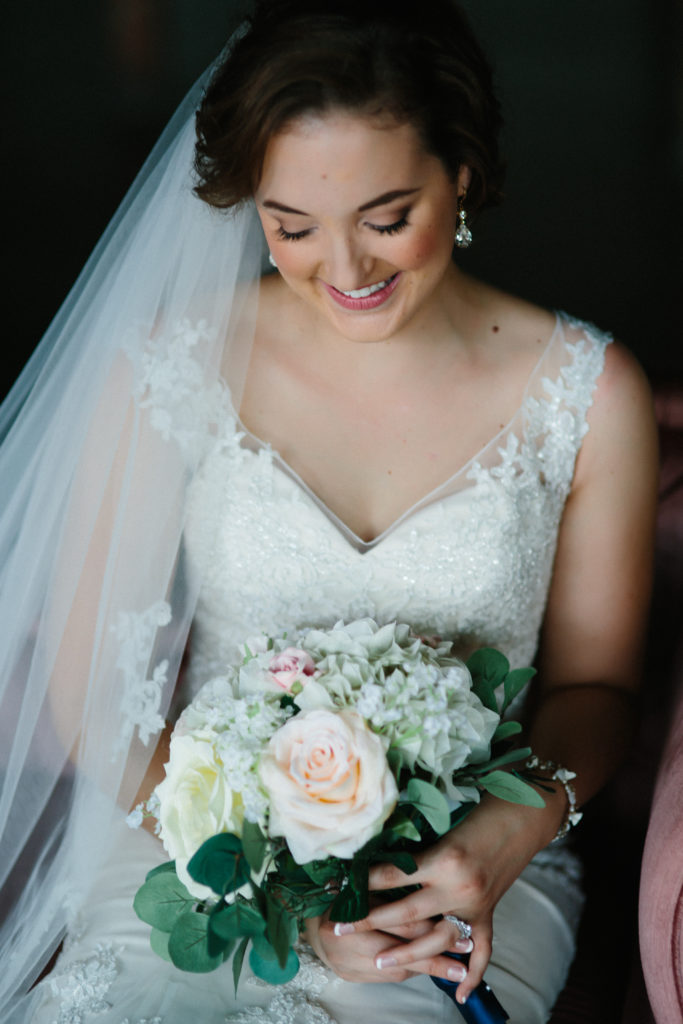
The fun part of the wedding being over, is that we get to enjoy all the pictures! My photographer did an amazing job on my bridal portraits, so I’ve been able to share those on Facebook. My bridal portrait session was exactly as I imagined– fun and relaxed! I had always known that I wanted to get bridal portraits done, but hadn’t thought of using a silk flower bouquet until I started doing some research.

Using silk flowers means you get to keep the bouquet forever! Also, it’s much more user-friendly the day of your bridal portraits. Sessions are usually about two hours long, and you’re holding different poses, walking around, tossing your veil about, etc. You don’t want to be worrying about live flowers staying fresh (or picking them up from the florist before the session), petals falling off, wilting or browning before your session!
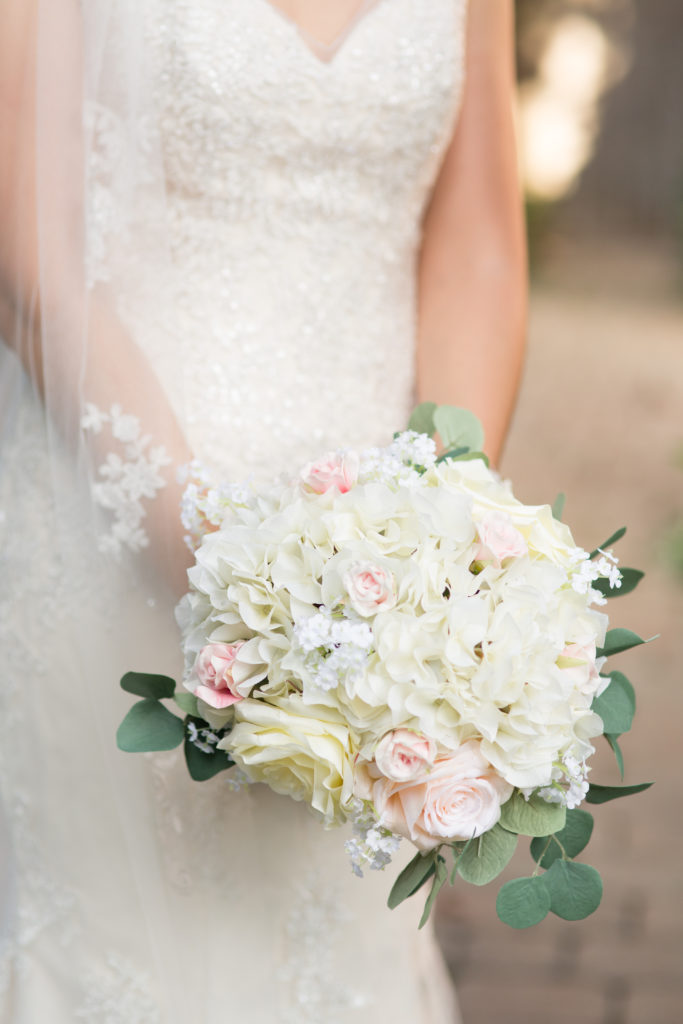
During my research, I found the company Afloral — which I think, has the largest and prettiest silk flower collection. I knew I wanted my silk bouquet to closely match my actual bouquet on my wedding day– white roses, blush roses, spray roses, babies breath, silver dollar eucalyptus. I used this image from Pinterest for my inspiration:

To make this bouquet, you’ll need:
- Ivory hydrangeas (2)
- Large white roses (2)
- Medium blush roses (2-3)
- Small pink spray roses (5-6)
- Silver dollar eucalyptus (1 large branch)
- Babies breath (1 large bunch)
- Floral tape
- Wire cutters
- Regular scissors
- Rubber band
- 1-2″ silk ribbon
- Floral pins (2-3)
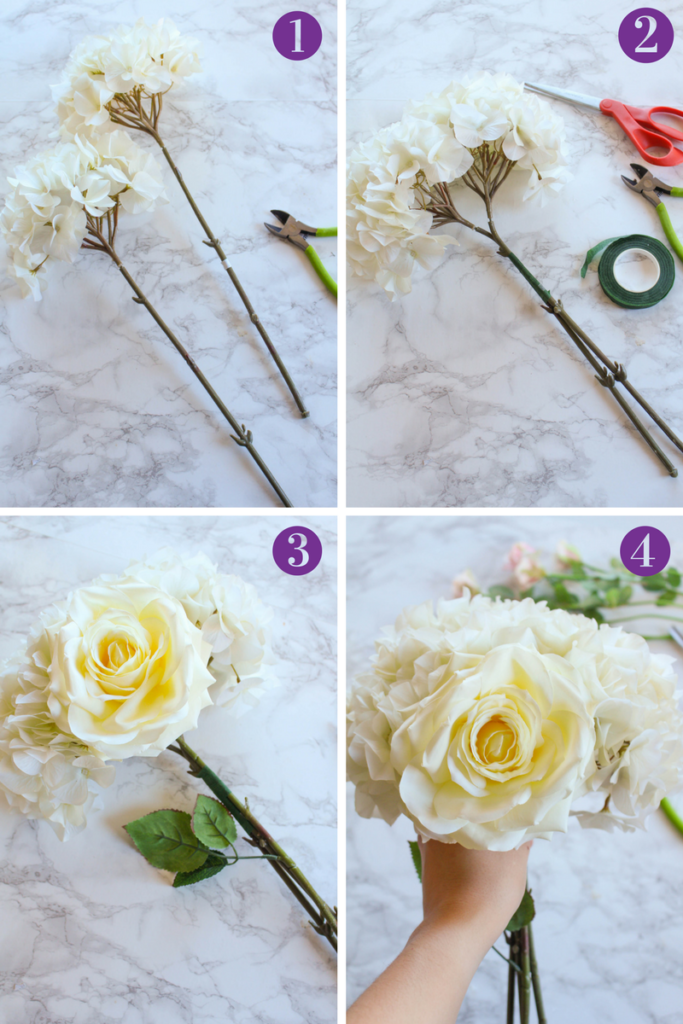
Step 1
Trim the big leaves and stems off of the hydrangea.
Step 2
Using floral tape, secure the hydrangeas together.
Step 3
Add a large white rose in between the hydrangeas. Secure with floral tape. TIP: When securing floral tape, wrap as tightly as you can. The tighter the better the hold!
Step 4
Repeat step 3 with the other large white rose. Secure tightly with floral tape!
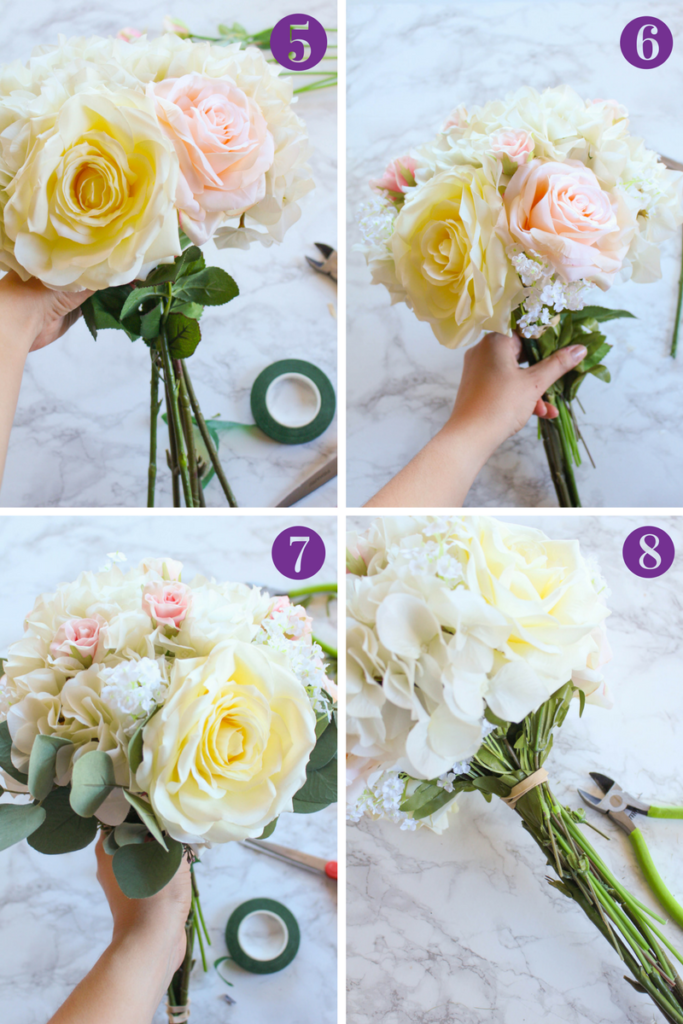
Step 5
Do the same thing for the Medium blush roses. Trim off excess leaves and fit into the gaps between the white roses and hydrangeas. You want some leaves showing, but you don’t want it getting too bulky.
Step 6
Add in little bits of babies breath and stems of the blush spray rose in between the other flowers. Try to keep it even and symmetrical — what you do to one side, do to the other.
Step 7
Add in some greenery– I used silver dollar eucalyptus and it is so photogenic!
Step 8
At this point, I used a rubber band along with securing with floral tape because it was getting bulky. The rubber band helps hold it in place while you’re floral taping.

Step 9
Continue adding in little bits of eucalyptus, babies breath and finish up with the rest of the small blush roses. Again, try to keep things symmetrical to all sides.
Step 10
When you’ve got everything in place, wrap the entire bouquet again, very tightly, in floral tape.
Step 11
Starting from the top of the bouquet, use a floral pin to secure the silk ribbon into the floral tape. Wrap around the bouquet until you reach the bottom, then secure with 2-3 more pins.
Step 12
Admire your finished product!
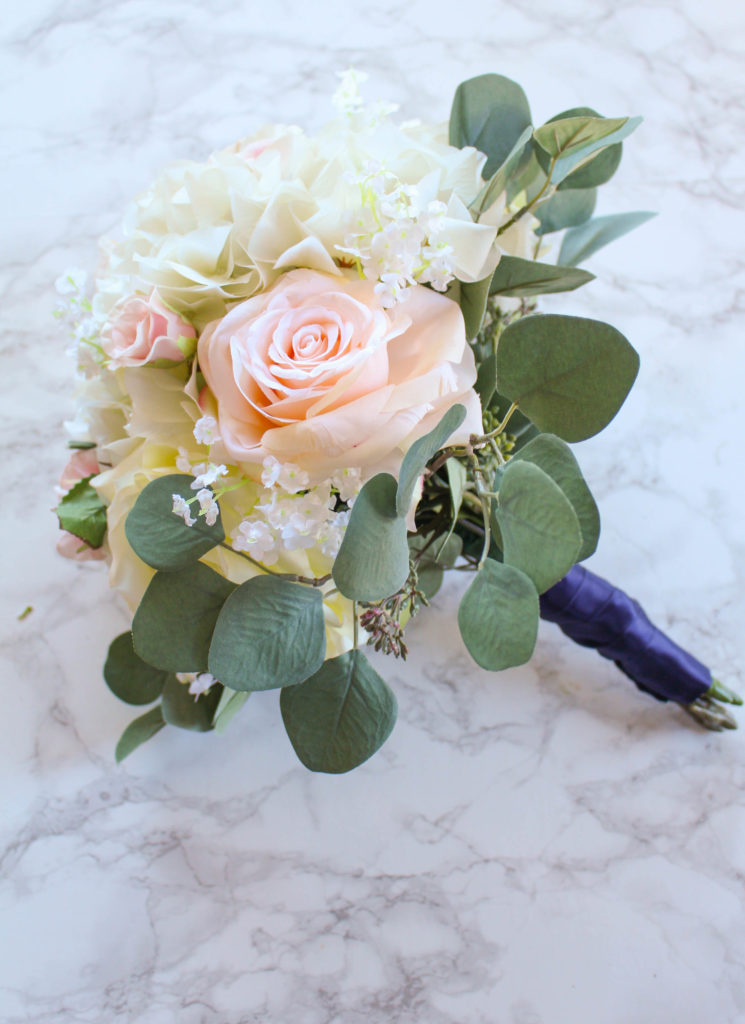
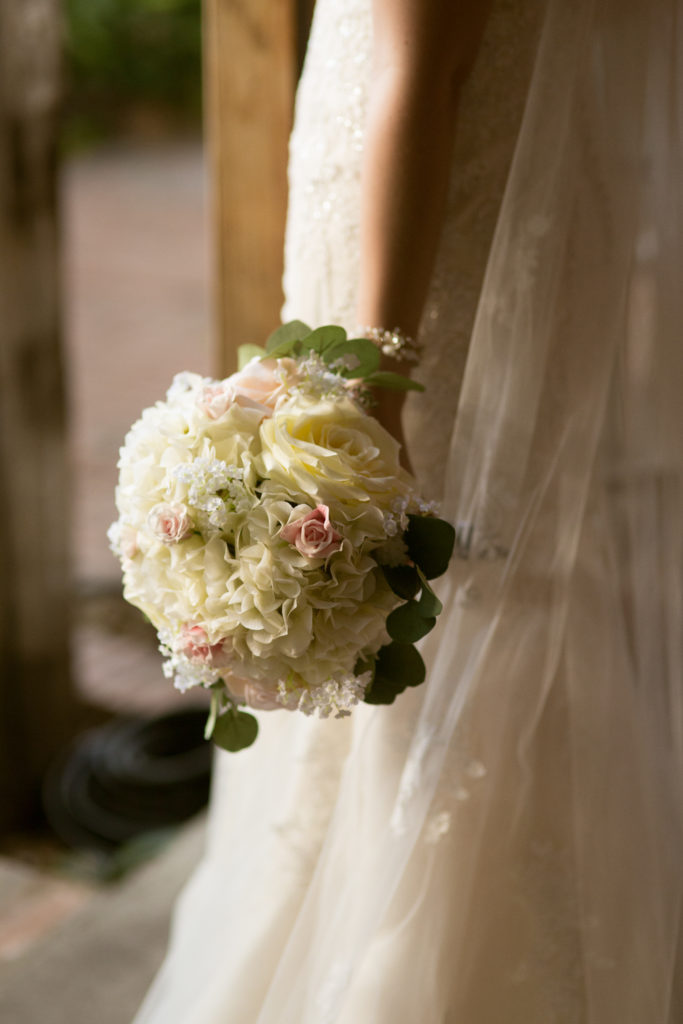
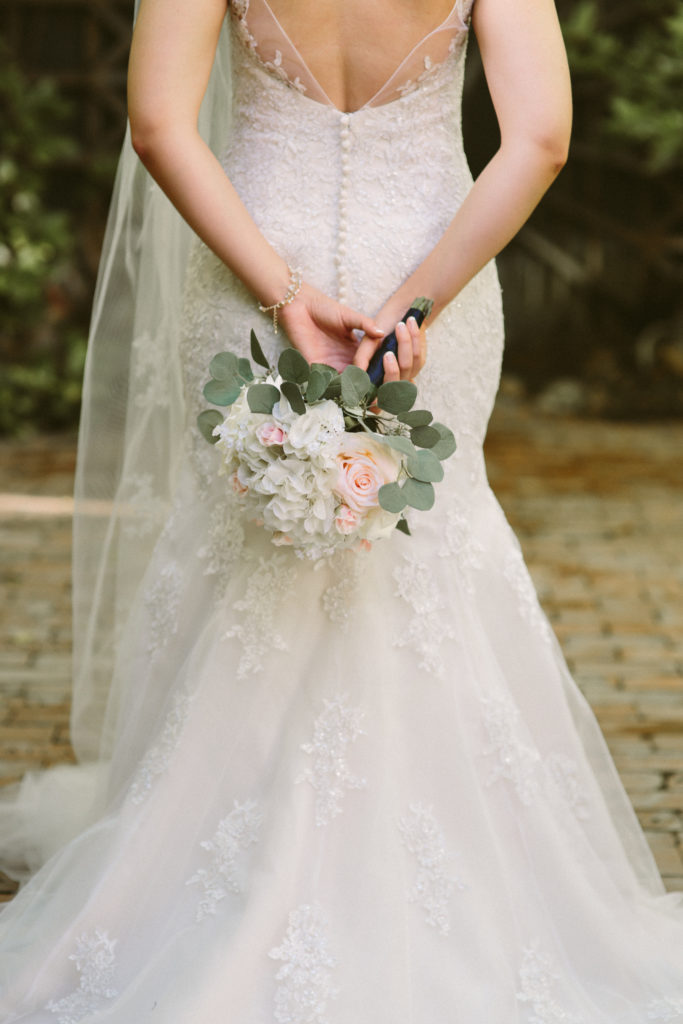
Voila! You’re finished! I was really happy with the way this turned out. It’s so beautiful! It only took me about an hour from start to finish.
I bet you wouldn’t have known the flowers in the pictures below were silk if I hadn’t just told you. :)
Do you like making silk floral arrangements? What are your favorite kind to make? Did you use silk flowers for any part of your wedding?


this is such a neat idea..fresh definitely feels better probably but the usability of silk is so much more.